Sennheiser HD580/HD600/HD650
Earpad Cushion - $2 DIY foam repair
Last updated 27 March 2011 (Minor updates: 28
Feb 2019)
Added: Feb 2019 –
Counterfeit replacement ear pad and headband cushions are now being
sold on eBay for less than $10. I've had to replace the inner thin
foam pads recently, and discovered when trying to remove the earpad
cushions almost 8 years since I wrote this blog, the adhesive which
bonds the velour cloth has weakened and now separates very easily
from the plastic oval plate.
The earpads of my HD-580 were in relatively
good cosmetic condition with no tears. The inner foam pad was
also undamaged. But the foam within the earpad cushions had
clearly lost their firmness. My ear lobes were pressing against
the inner flat foam pad.
I was loathed to spend almost 60 quid (over
US$90) on a new set of velour earpads from a UK Sennheiser
dealer, so I looked at how I could refurbish the earpad cushions at
considerably less expense. Well, 99 pence to be precise (Less
than US$2) !
Allow up to 2 hours to complete these
instructions. I should add that you make these
modifications at your own risk!
I needed to source some firm sponge foam.....
|
|
|
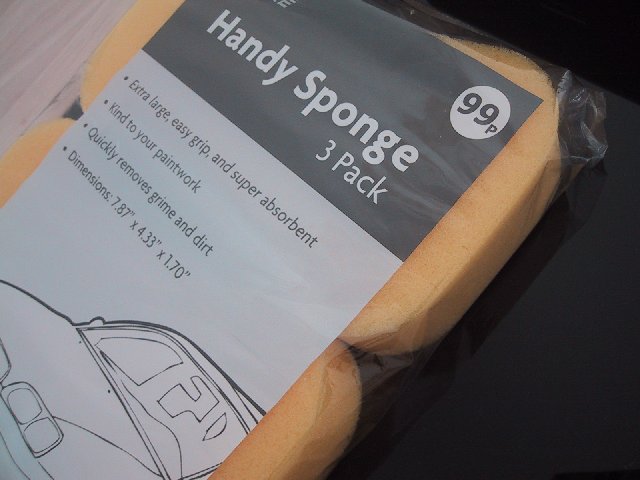
For UK readers:
3 pack of Car washing sponges purchased
from Pound Stretcher.
I also looked in Wilkinsons but the only
car washing sponges they sold at 34 pence each were too soft.
They were also pitted with large holes up to 3mm in diameter.
I had not visited Halfords at time of
writing to see what they offered.
|
|
|
|
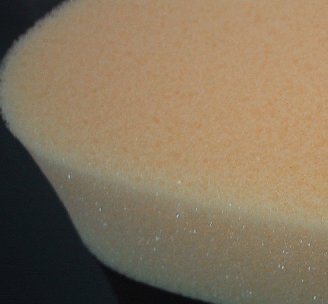
This foam is relatively firm when
compressed between the palms of my hands. It also has small
holes which suggests it is a high density (firmer) foam.
|
My Sennheisers were about 10 years old at the
time I wrote this blog. The original earpad cushions pull off very
easily.
Added Feb 2019:
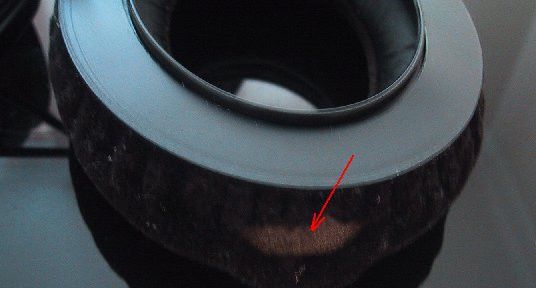
But when I attempted to remove the earpad cushions almost 7 years
later, I discovered the adhesive that bonds the velour cloth to the
plastic oval plate has deteriorated. As a result, the velour cloth
started to separate. I had to use a metal spudger tool to carefully
prise the plastic oval ring out. Then used superglue to reattach the
velour cloth to the ring.
A video showing how to repair earpad cushions.
https://youtu.be/_b53VDWA10k
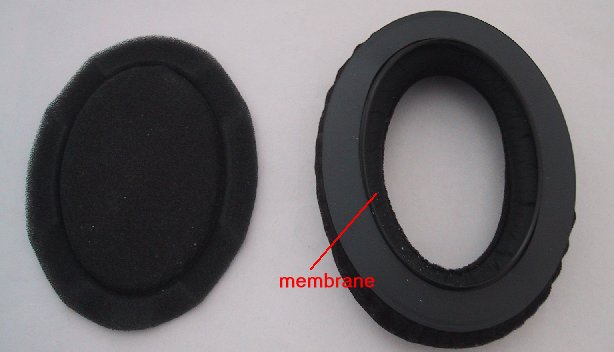
Warning: If you
examine the inner part of the earpad cushion, you will see the velour
cloth is sewn onto a thin flexible pvc membrane. If you are not
careful when removing the earpad cushions, you could tear the seam.
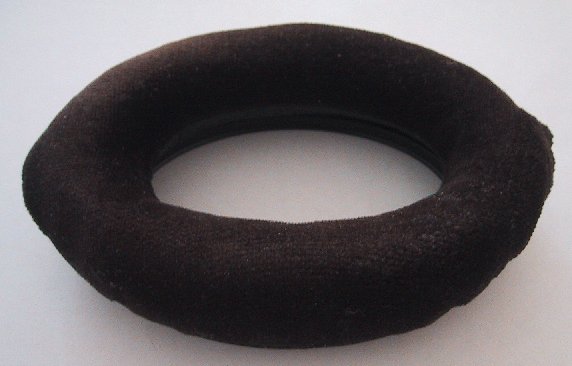
Just gently grab the velour covered cushion and
pull gently ideally on the outer edge of the cushion. It should
start to unclip itself. Once the cushion has been removed, the
flat foam can be lifted off too.
Make an incision no more than 20mm in length
about 5mm from the plastic ring at both ends of the earpad cushion.
Cut through the foam via one of the openings, and 'carefully' pull it
out through the other opening.
|
|
|
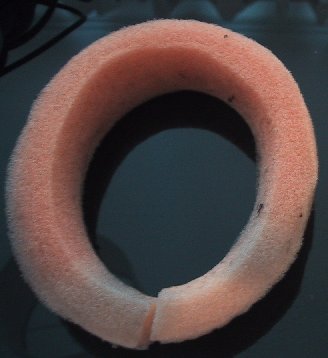
Badly deformed and discoloured original
foam insert.
The dimensions of the original foam appear
to be 25mm deep and the ring thickness is about 15mm all the way
round. It looks like the foam was originally a simple
rectangular cross section design. ie.no chamfered edges.
Very early earpads may have different
dimensions to the ones quoted here.
|
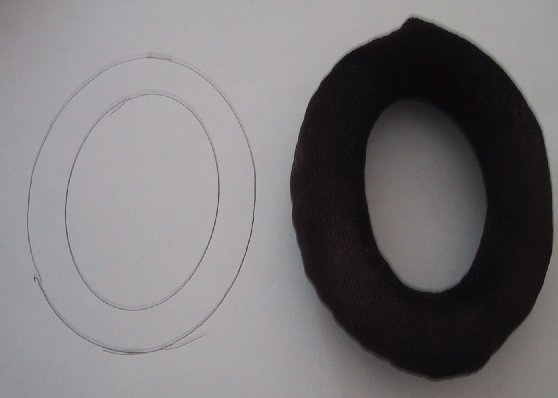
Create a simple paper template by running a pen
around the plastic ring on the back of the earpad cushion onto a
sheet of paper.
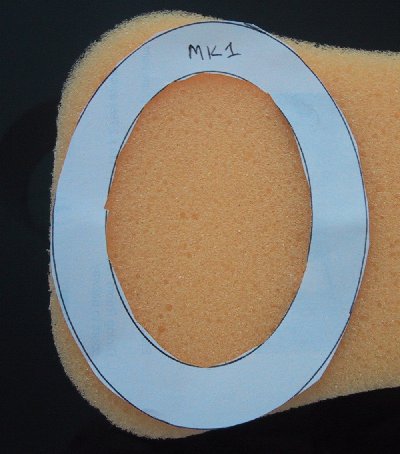
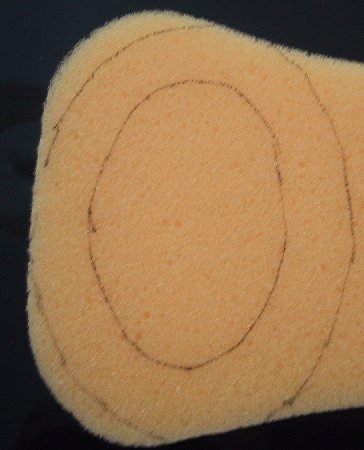
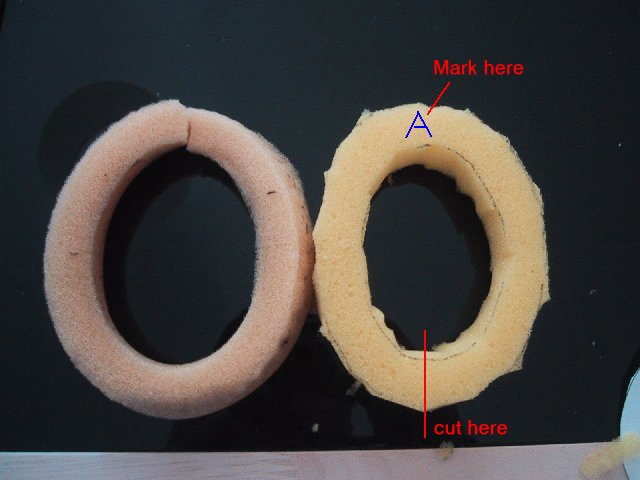
Mark and cut out the new foam cushion using a
sharp pair of scissors. The Pound Stretcher sponge was about
40mm thick, so I had to reduce it to about 25mm. (In hindsight, I
recommend thickness of 27mm if I had to remake them again)
|
|
|
The original foam is less noisy when
squeezed compared to the car washing sponge foam.
If I press the palm of my hand against the
old foam, it offers little or no resistance to being compressed.
The new foam is firmer.
Mark up the ear facing side of the new foam
as shown by the blue 'A' in
this picture.
|
Now here comes the clever part....
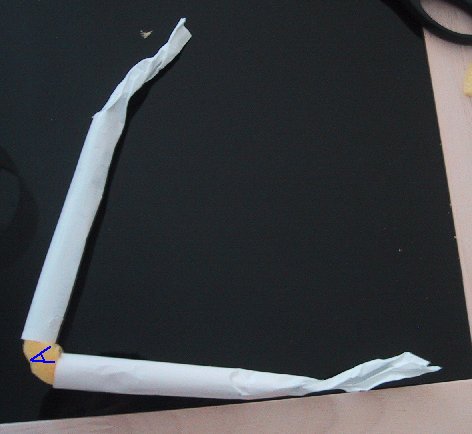
Cut through one end of the new foam cushion as
shown above. Now carefully compress the foam by wrapping it
using two pieces of 8 x 2 inch wide strip of paper and self-adhesive
tape as shown below. Try to keep the foam straight when
wrapping with the paper. ie. do not twist the foam along its
length.
Now insert and feed it through the earpad
cushion as shown below. Double check the marked up side of the
foam (the blue 'A') is
facing upwards. Gently pull it through until the foam is fully
inserted.
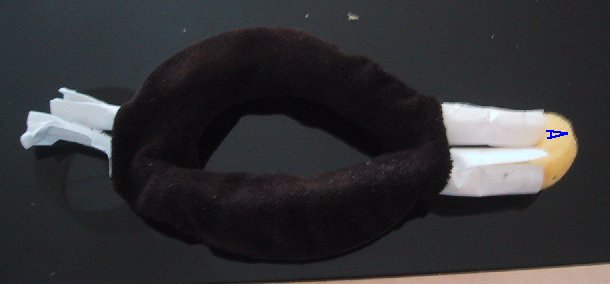
Then slowly pull more until the paper tube
slides off, leaving just the foam inside the earpad. Now gently
manipulate the new foam until you feel the foam is evenly distributed
within the cushion and you acquire the desired shape. Warning:
Take care not to put too much stress on the seam between
the velour cloth and the very thin pvc membrane on the inner edge of
the cushion.
Finish off by stitching up the two openings.
Added Feb 2019: After
17+ years, the thin foam pad had a hole and had deteriorated. As a
temporary repair, I cut away the centre to make the hole larger. I
didn't have any suitable replacement thin piece of foam, but I had
some inexpensive surgical face masks. These are normally 3 ply
construction comprising of 2 white sheets and a blue/green coloured
sheet. I used just the blue/green sheet and cut it to shape to fit
inside the HD580.
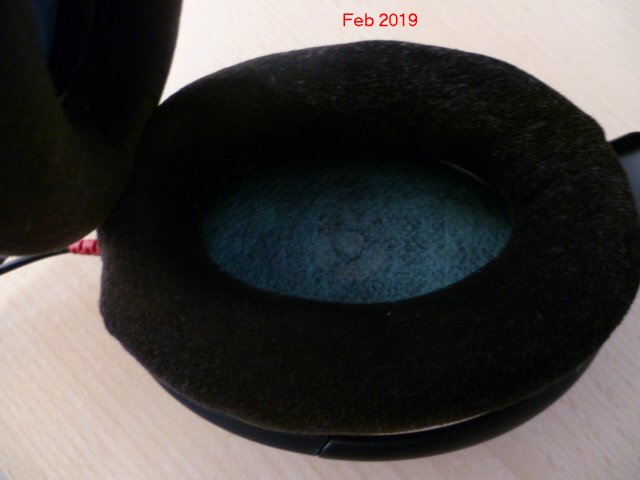
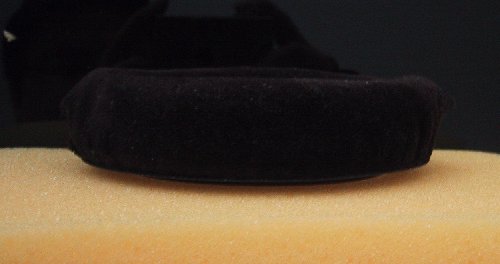
The finished result:
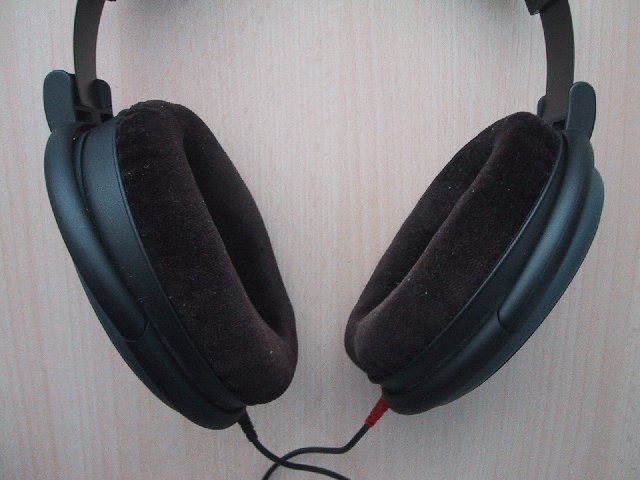
Testing
My earlobes no longer press against the inner
flat foam pad, so that's an immediate improvement !
Although the car sponge is evidently noisier
than the original foam when squeezed. In practise, I have not
found this to be an issue when wearing my headphones.
Update: After lengthy listening and
comfort tests last night, I've concluded the newly fitted foam is
sufficiently firm and comfortable. I will not be replacing them
with upholstery foam.
Update (June 2012): One year later, I can
confirm my earpad cushions are still fine.
Update (Feb 2019): The
inner thin foam pads now have holes in them. I've replaced them using
parts from surgical face mask. The earpad cushions have held up well
over the last 8 years, so I chose not replace the internal foam for a
second time. There is a tear in the flexible PVC membrane on one
earpad cushion, so I will probably order a $10 replacement earpad
cushions off eBay in future.
Alternative foam
I noticed car washing sponges sound a bit
scrunchy when squeezed. Upholstery grade foam may be quieter.
How to refurbish the
HD-580 headband cushion
Originally
posted in
AVforums.com
Posted
in Head-fi.org
Earpad covers
I discovered these interesting flickr photos in
Google images.
They appear to show some sort of custom made
fabric (lycra?) covers which simply fit over the original velour
earpad cushions. These would be ideal for renovating an
earpad's worn or torn velour fabric. The photos were posted by
'Alan':
flickr
photo showing custom made earpad covers 1
flickr
photo showing custom made earpad covers 2
I don't know whether the covers are a genuine
retail product, or are home made.